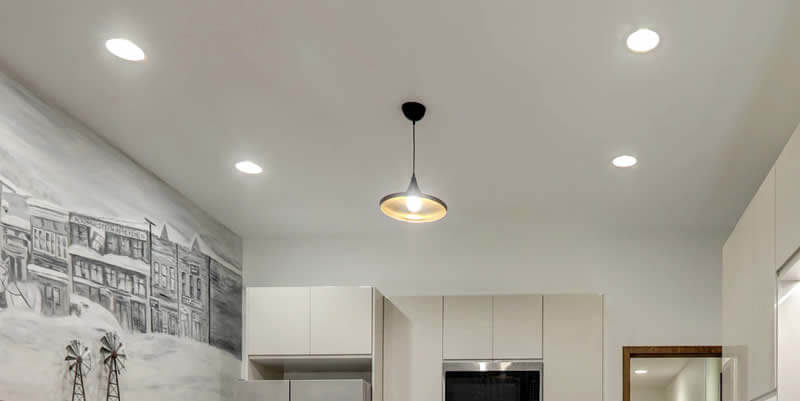
Recessed lighting, also known as can or pot lighting, provides a sleek and modern way to illuminate your home. It not only enhances your room’s aesthetic appeal but also creates a subtle, ambient mood or highlights a specific area. With an array of lamps and fixture trims available, recessed lighting can seamlessly integrate with your room’s design. Adding a dimmer switch can further increase versatility, enabling you to customize the light level according to your needs.
In this article, we delve into the intricacies of installing recessed lighting, providing a step-by-step guide to help you understand the process better.
Understanding Recessed Lighting
Before embarking on the installation process, it’s essential to comprehend what recessed lighting entails and the regulatory provisions guiding its installation. Recessed lighting fixtures, such as halo recessed can light fixtures, must adhere to the National Electrical Code (NEC) 410-66. This provision states that recessed lighting fixtures installed in insulated ceilings or within 1/2 inch of combustible material must be approved for insulation contact and labeled Type IC.
Furthermore, most State Energy Codes mandate that all penetrations through an air barrier be sealed to maintain the interior air barrier. This sealing applies to service entrances, conduit, cables, panels, recessed luminaries, electrical boxes, fan housings, and more.
Step-by-Step Guide to Installing Recessed Lighting
The following steps offer an in-depth look into installing recessed lighting:
Step 1: Assessing the Basic Finish of the Installed Recessed Light Fixture
Begin by examining the recessed halo light fixture housing. Typically, the lamp socket is mounted up inside the enclosure at the default position to accommodate the incandescent reflector light bulb.
Step 2: Adjusting or Removing the Light Socket Mounting Plate
The lamp socket’s adjustment will allow the recessed can lighting to expose more of the light bulb, increasing the light cast into the area.
Step 3: Removal of the Light Socket Plate Assembly
You can lower the socket bracket assembly plate out of the recessed fixture enclosure once the wing nut is removed.
Step 4: Removal of the Light Socket
The lamp socket can be removed from this assembly by squeezing together the two metal brackets holding the socket in place to the metal plate.
Step 5: Preparing the Socket for the Can Light Trim
The lamp socket is now ready to be inserted into a variety of trims of your choice for your lighting application.
The Process for Installing Recessed Can Lights

The necessary wiring and circuit components for installing recessed can lights will vary depending on your specific needs. Your recessed lights can be controlled by a standard light switch or dimmer switches, depending on your selection.
Your electrical project may necessitate a new circuit, depending on the number of fixtures you wish to add. Remember, careful planning is crucial for each home electrical project. You may find our list of Helpful Low-Cost Home Project Guides and Home Electrical Project Guides beneficial in this regard.
Adherence to Electrical Codes
The NEC 410-66 stipulates that recessed lighting fixtures installed in insulated ceilings or within 1/2 inch of combustible material should be approved for insulation contact and labeled Type IC. It’s essential to note that this is just a partial list of electrical codes and other codes may apply. The codes may also be updated, so always refer to the latest edition or consult a professional electrician.
Required Electrical Tools and Materials
Here’s a non-exhaustive list of tools and materials you may need for your recessed lighting project:
- Large, Medium, and Small Straight-Slot Screwdrivers
- Awl
- Lineman’s Pliers
- Needle-Nose Pliers
- Crimp Pliers
- Wire Strippers
- Sheath Knife
- Various Colors of Electrical Tape
- Wire Connectors
- Ground Crimps
- Claw Hammer
- Volt Tester
- Felt Marker
- Recessed Lighting Fixtures
- Recessed Lighting Trims
- Light Bulbs
- Wire, Staples, Wire Connectors
- Switch or Dimmer Switch
Please note, the tools and parts required may vary depending on the specifics of your project and the particular devices added to the project.
In conclusion, installing recessed lighting may seem complicated at first glance, but understanding the steps and requirements can demystify the process. As always, if you’re unsure about anything, don’t hesitate to consult with a professional electrician. Your safety should be your top priority.